Planning a fence has never been easier. This guide walks you through every feature of the 3D Fence Calculator — from drawing your lot to selecting a fence style and downloading your full material list.
No experience required. The calculator updates in real time as you make changes, so you can experiment freely before making any decisions.
Lot Editor
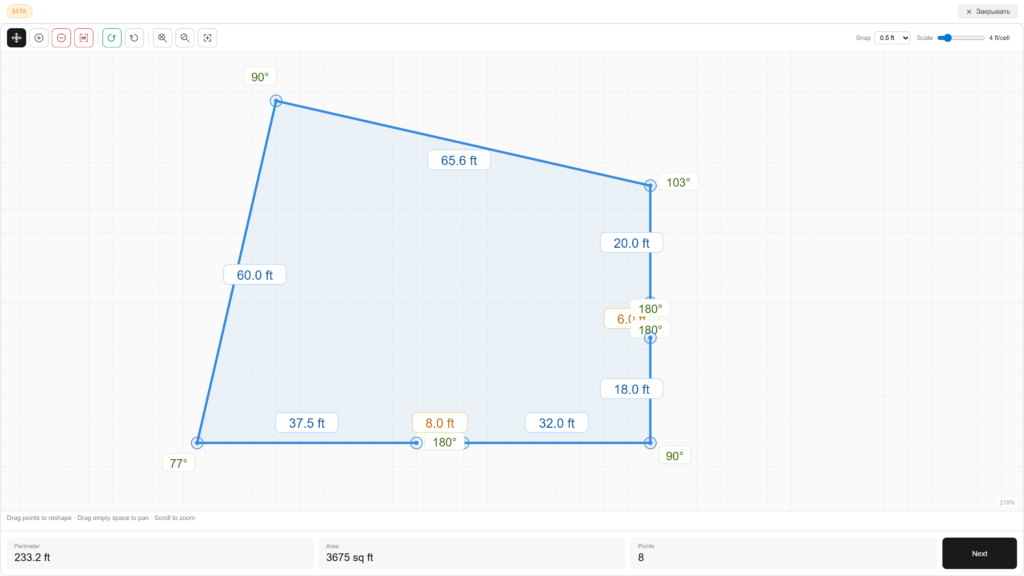
The first step is drawing your lot. Click to place points and build the outline of your property — any shape works, not just rectangles. Each point becomes a fence post. The lot boundary is shown in blue, with dimensions on each side and angles at each corner.
At the bottom of the screen you’ll see live measurements updating as you draw: Perimeter — total fence length, Area — lot area in square feet, Points — number of posts.
Toolbar

Move. Drag any point to reposition it. Each point represents a future corner post on your lot. Points are connected by blue lines that form the lot boundary.

Add. Add a new point to the lot boundary. Use this when your property has an irregular shape and you need extra corners — click anywhere on a boundary line to insert a new post at that location.

Delete. Remove a point from the lot boundary. Click any post to delete it — the two neighboring points will connect automatically to close the boundary.

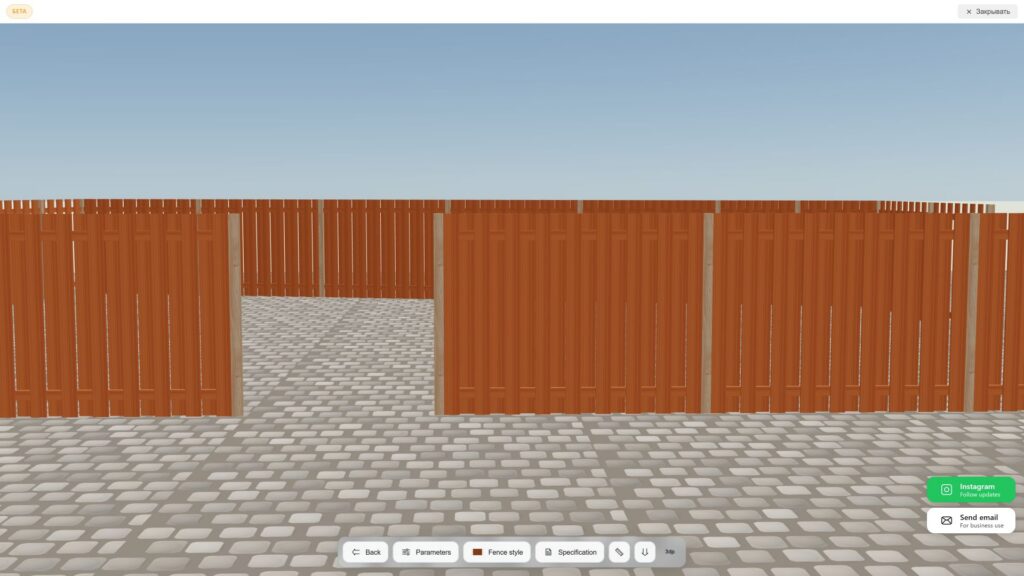
Break. Skip a fence section — useful for gates or where the fence meets a wall or building. Click on the boundary segment between two posts to exclude it from the fence calculation. Click again to restore it.

Close Contour. Restores all skipped sections at once — removes all breaks created with the Break tool and includes the full boundary in the fence calculation.

Reset. Resets all points back to the default lot shape set by the calculator. Use this to start over from a clean slate.

Zoom In. Zoom into the lot editor canvas for more precise point placement. You can also use the mouse scroll wheel on desktop or a two-finger pinch gesture on mobile.

Zoom Out. Zoom out of the lot editor canvas to see the full lot. You can also use the mouse scroll wheel on desktop or a two-finger pinch gesture on mobile.

Fit View. Resets zoom and centers the lot in the canvas — without changing the position of any points relative to each other. Use this if you’ve zoomed or panned too far and want to get back to a full view of your lot.

Snap. Controls how precisely points snap to the grid when you place or drag them. Available values:
- 1 ft
- 0.5 ft (default)
- 0.25 ft
- 0.1 ft
Scale. Sets the size of each grid cell in feet. Ranges from 1 ft/cell to 10 ft/cell. Adjust this to match the size of your lot — larger lots work better with a higher scale value.
Once you’ve drawn your lot boundary, click Next to calculate the 3D fence model.
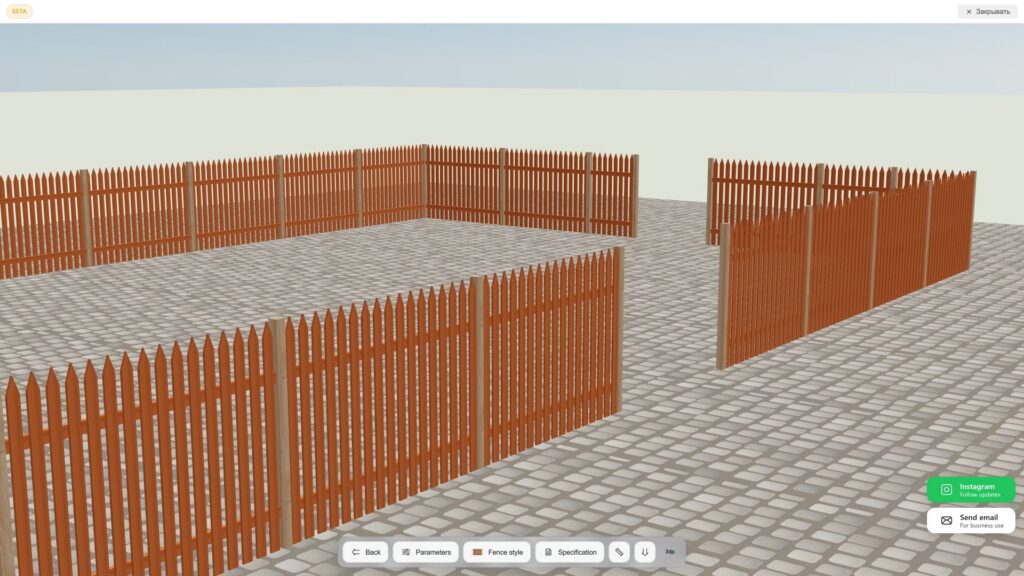
3D Model Editor
Main menu


Back. Returns to the Lot Editor if you need to adjust your lot boundary before continuing.

Fence Style. Opens the fence style selection panel. Several popular styles are already available — more will be added in future updates.

Parameters. Opens the settings panel where you define fence height, section length, foundation depth, and post dimensions.

Specification. Opens the full material list for your fence — every post, rail, and picket with exact dimensions and quantities, ready to take to the lumber yard.

Download 3D Model. Exports your fence as a .gltf file — a standard 3D format supported by most design and visualization tools.
You can open it in:
- Blender — free 3D editor, great for rendering and customization
- Sketchfab — share and view 3D models online
- AutoCAD / Revit — for professional construction documentation
- iOS / Android — view in augmented reality using apps like Reality Composer or Google Scene Viewer

Dimensions Toggle. Shows or hides section length labels directly on the 3D model. Useful for a quick visual reference or when you want a clean screenshot without dimension labels.
Parameters panel
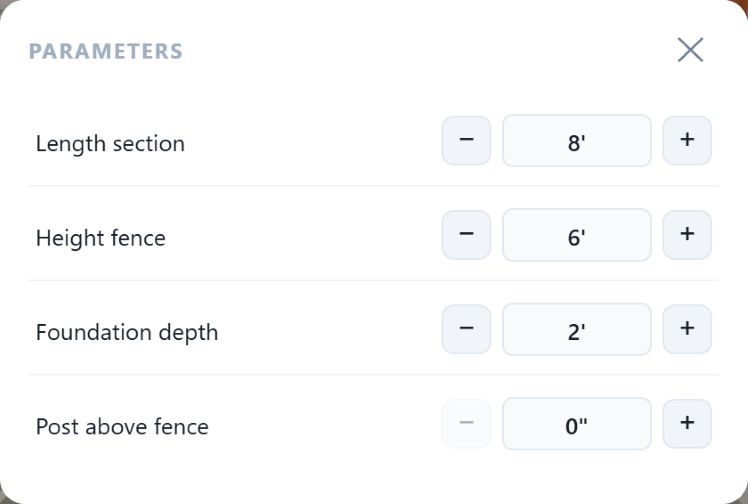
Opens the main settings panel where you define the key dimensions of your fence.
- Length section — the distance between posts. Default is 8 ft, which is standard for most wood fence builds.
- Height fence — total fence height above ground. 6 ft is the most common for backyard privacy fences.
- Foundation depth — how deep the posts go into the ground. Typically 2 ft for a 6 ft fence.
- Post above fence — extra post height above the top rail, for decorative post caps or extensions.
Use − and + to adjust each value. The 3D model updates instantly.
Selecting elements
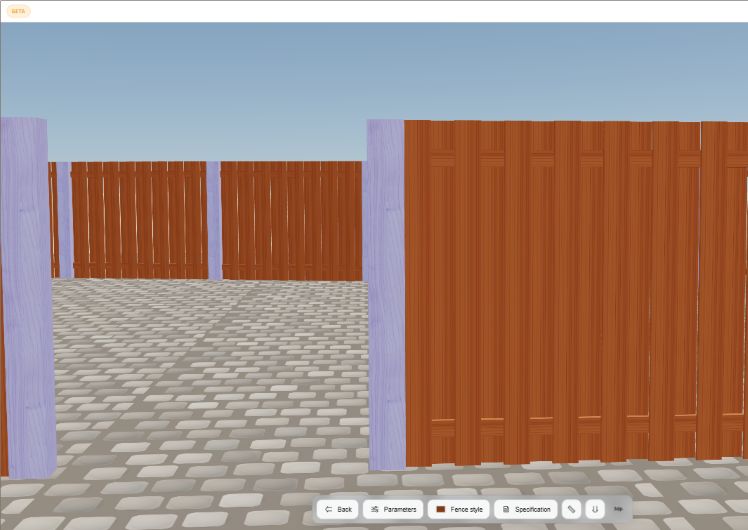
Click on any part of the fence in the 3D view to select it. The selected group highlights in blue — posts and fence sections are independent groups, so you can customize each separately.
Available settings when an element is selected:
- Color — change the color of the selected group
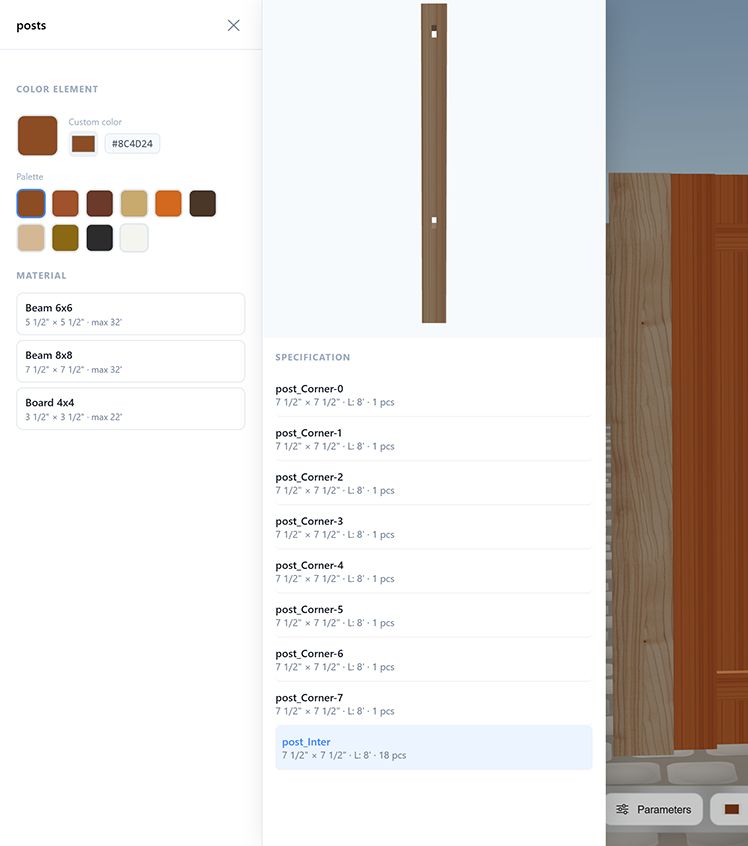
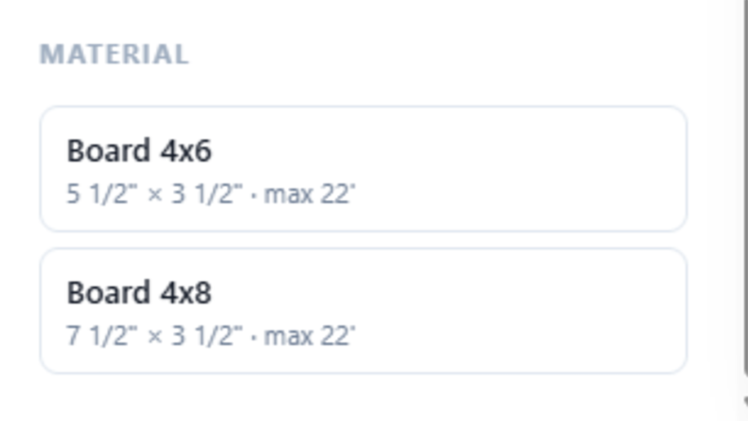
- Material — choose the post lumber size (e.g. 4×4, 6×6, 8×8)
Fence Style
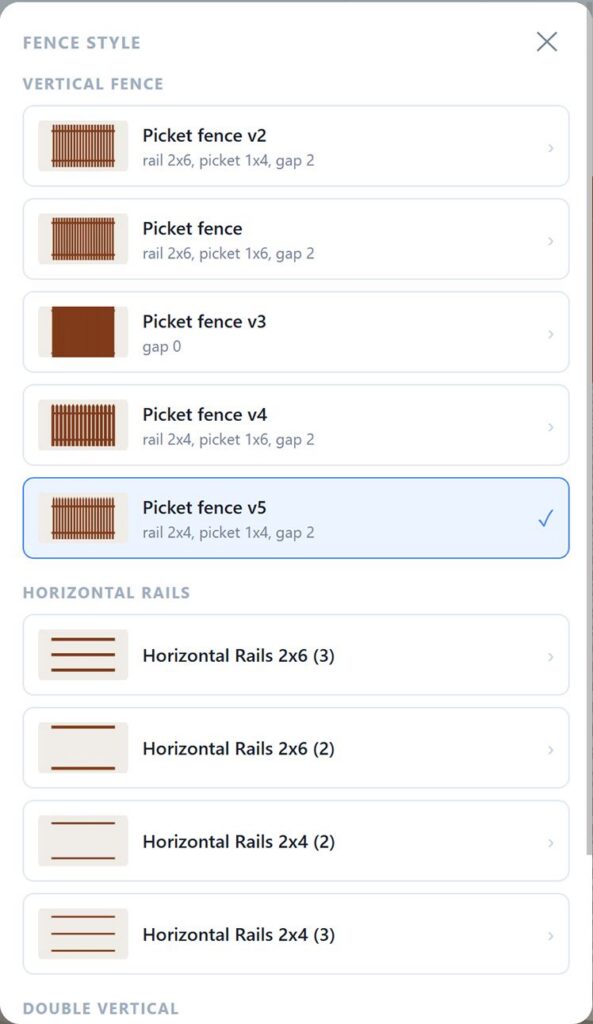
Choose the style of fence section from the available options. Styles are grouped by type:
Vertical Fence — classic picket-style fences with vertical boards:
- Picket fence v2 — rail 2×6, picket 1×4, gap 2″
- Picket fence — rail 2×6, picket 1×6, gap 2″
- Picket fence v3 — solid, no gap
- Picket fence v4 — rail 2×4, picket 1×6, gap 2″
- Picket fence v5 — rail 2×4, picket 1×4, gap 2″
Horizontal Rails — modern horizontal board styles:
- 2×6 rails with 2 or 3 boards per section
- 2×4 rails with 2 or 3 boards per section
Double Vertical — board-on-board style where pickets overlap for full privacy with no gaps:
- Board on Board v1 — rail 2×4, picket 1×4
- Board on Board v2 — rail 2×4, picket 1×6
The selected style is highlighted with a checkmark. The 3D model updates instantly when you switch styles.